
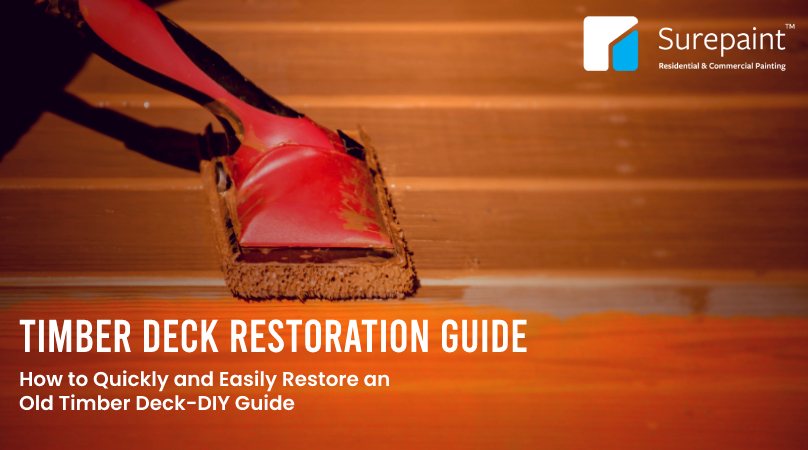
If you’re like most Australians, you probably enjoy spending time outdoors on your deck. A well-maintained deck can add a lot of value to your home and is a great place to relax and entertain guests. If your deck is looking a little worse for wear, don’t worry – it’s easy to restore it yourself using this DIY guide. With just a few simple steps, you can have a beautiful timber deck in no time!
Importance of Timber Deck Restoration
Deck restoration is an important process for any home with a deck. Over time, wooden decks can become worn and damaged, making them unsafe and unsightly. Deck rejuvenation involves repairing or replacing damaged decking, railings, stairs, and other components. It can also involve refinishing the deck to restore its original appearance. Regular maintenance is essential to ensure that your deck remains safe and attractive.
Timber deck restoration is often done by professionals who are experienced at working with wood. They will be able to assess the condition of your deck and determine what needs to be repaired or replaced. This includes removing old deck boards, installing new ones, and applying sealant where necessary. However, with some easy-to-follow instructions, you can do your deck restoration yourself.
Materials Needed
Before you begin the restoration of your weathered deck, it is important to gather the right materials. Here are the things you need to prepare beforehand so that your DIY project goes smoothly:
- Bucket
- Pressure Washer
- Deck cleaning solution
- Deck stripper
- Paintbrush
- Stiff bristle brush/stiff broom
- Sandpaper, sanding blocks or power sander
- Deck screws or nails
- Replacement Lumber
- Power drill
- Plastic Sheeting
- Decking oil or sealer
- Deck stain
- Safety Equipment (Gloves, eye protection, etc.)
Once you have all of your materials, you’re ready to begin the process of restoring your tired deck.
Six Steps to Reviving a Tired Timber Deck
Assess the deck
The first step is to take a close look at your deck and identify any areas that need to be repaired or replaced. Make a list of all the damaged boards, railings, stairs, and other components. Also, take note of any areas of the deck structure where the wood is cracked, warped, rotting or discoloured.
Replace damaged boards
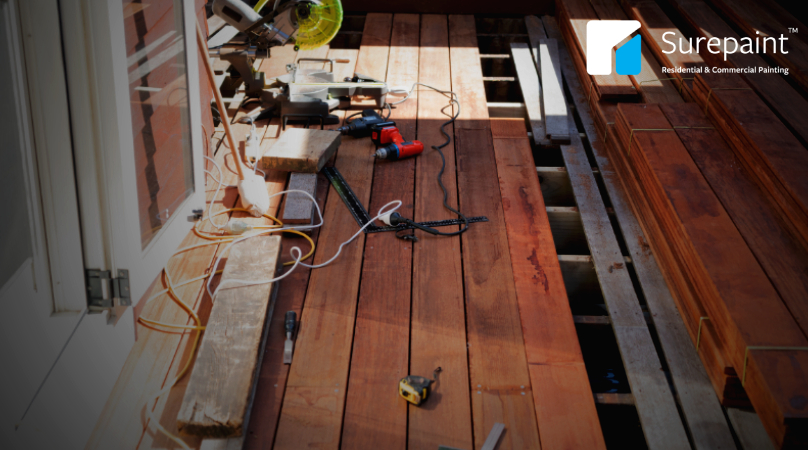
If any of the boards on your deck are damaged, you will need to replace them. Remove the old boards by unscrewing them or prying them up with a crowbar. Then, measure the opening and cut new boards to size. To install the new boards, screw or nail them into place.
Remove the old finish
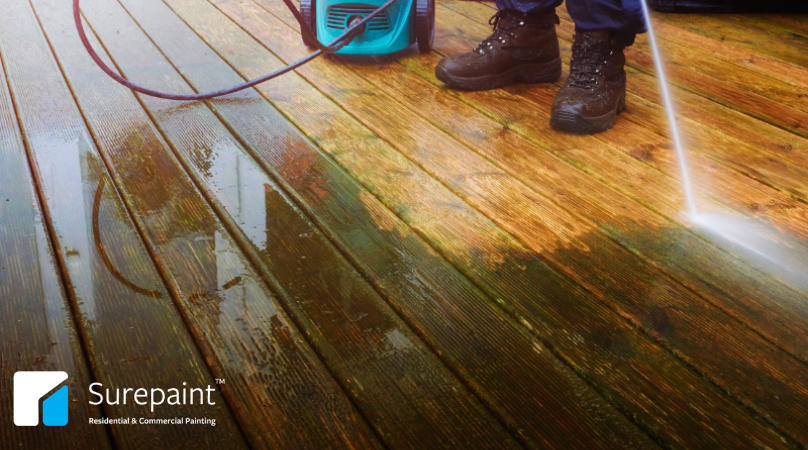
Once you have identified all of the areas that need to be addressed, it’s time to remove the old finish from your deck. This can be done by using a pressure washer or paint stripper. If you’re using a pressure washer, make sure to use a low setting so that you don’t damage the wood.
Sand the surface
After the old finish has been removed, it’s time to sand the surface of the entire deck. Deck sanding will help to create a smooth surface for the new finish. You can use sandpaper, a sanding block, or a power sander to sand the surface of your deck.
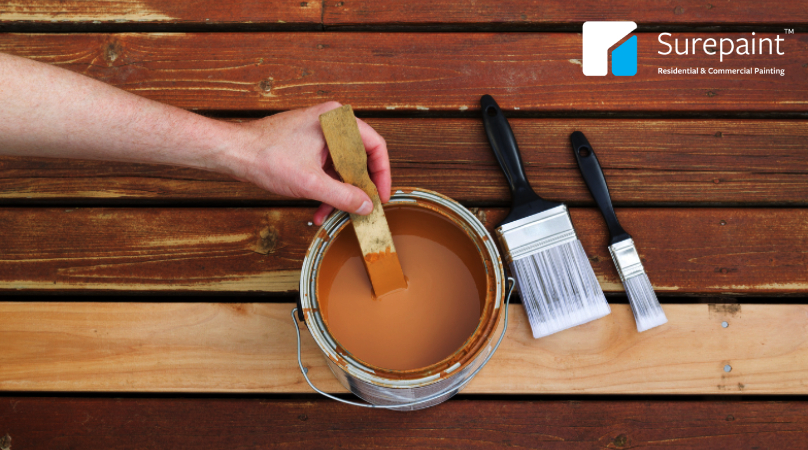
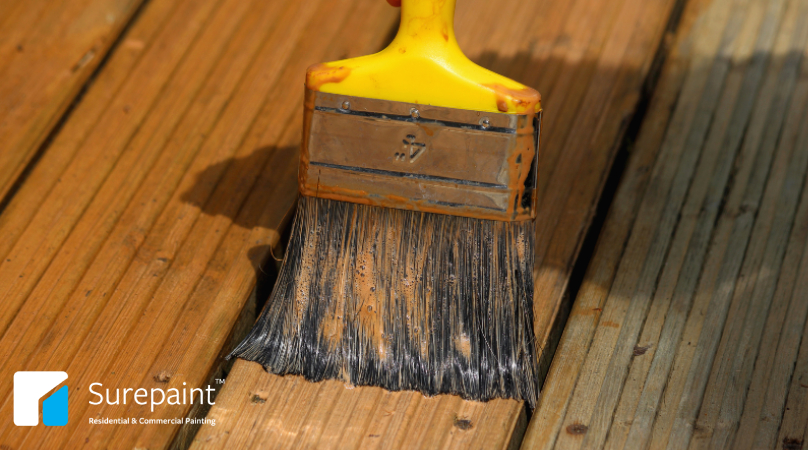
Apply a new finish
After the surface of your deck has been sanded, it’s time to apply a new finish. This can be done by using deck oil, sealer, or deck stain. Choose a product that is specifically designed for decks and follow the manufacturer’s instructions for application. Once the new finish has been applied, let it dry completely before proceeding with the next steps in your deck restoration project.
Enjoy your newly restored deck
After following these simple steps, you will have a newly restored deck that you can enjoy for years to come. With just a little bit of effort, you can easily revive an old timber deck and add value to your home.
What’s next?
Now that you know how to restore an old timber deck, you might be wondering what’s next. There are a few deck maintenance tips that you should follow to keep your deck looking its best until the next quick touch-up.
Deck Maintenance Tips
Check for damage regularly
It’s important to check your deck regularly for damage and make repairs as soon as possible. This will help to prevent further damage and keep your deck looking its best. Regularly check the timber surface for cracks, warping, rot, and other signs of deterioration.
Clean your deck regularly
Debris, dirt, and pollen can build up on your deck over time, so it’s important to clean it on a regular basis. You can use a pressure washer, garden hose, or broom to remove dirt and debris. Annual cleaning of your timber deck will also help to extend its life.
Keep your deck clear of weeds
Weeds can grow quickly in moist conditions, so they pose a threat to your deck. It’s important to keep your deck free of weeds because they can cause damage to your deck and even lead to structural problems.
Stain or seal your deck every few years
To protect your deck from the elements, it’s important to stain or seal it every few years. This will help to prevent the wood from drying out and becoming damaged.
Move planters, chairs, and tables occasionally to avoid discolouring the decking
If you have planters, chairs, or tables on your deck, it’s important to move them around occasionally. This will help to avoid discolouring the decking from the weight of the furniture.
Remove bird droppings and other stains promptly
Bird droppings and other stains can damage your deck if they’re not removed promptly. To remove stains, use a deck cleaner and a stiff brush. Scrub the stain until it’s gone, then rinse the area with water.
Consult an expert who can help with general maintenance and routine restoration
If you’re unsure about how to properly maintain or restore your deck, it’s best to consult an expert. An experienced contractor will be able to help you with general maintenance and routine restoration.
Now that you have everything you need to know to restore an old timber floor, you’re ready to get started! We can’t wait to see your beautiful deck transformation after your DIY project.
Suggested Reading: How Much Does It Cost To Restain / Recoat A Timber Deck In Brisbane?
Deck Restoration FAQs
How often should I do deck maintenance or recoating?
The frequency of recoating or maintaining your deck will depend on a variety of factors including the material used in the deck, the weather conditions in your area, and how often the deck is used. In general, recoating or staining should be done every 2-3 years. However, if your deck is located in a particularly harsh environment (such as near the ocean), it may need to be done more often. And if you use your deck a lot, you may also need to recoat or stain more often.
What happens if you don’t use a timber cleaner before coating?
If you don’t use a timber cleaner before coating, the protective layer will not adhere to the surface of the timber and will eventually peel off.
Timber cleaners are designed to remove any dirt, grease, or other contaminants from the surface of the timber before coating. This is important because if these contaminants are not removed, they can interfere with the adhesion of the protective layer, leading to peeling or flaking.
It is also important to note that not all timber cleaners are created equal. Some cleaners are specifically designed for use with specific types of coatings, so it is important to choose a cleaner that is compatible with the type of coating you plan to use.
Why should you consider getting professional help with deck restoration?
There are a few key reasons why you should consider getting professional help from a deck restoration company. First and foremost, professionals have the necessary skills and experience to get the job done properly. They will be able to clean and seal your deck correctly, ensuring that it lasts for years to come.
Second, professionals will be able to do the job more quickly and efficiently than you could on your own. This means that you can get your deck restored without having to spend weeks or even months working on it yourself.
Finally, hiring a professional will save you money in the long run. A well-restored deck will last much longer than one that has been done DIY-style, meaning you won’t have to spend time or money on repairs or replacements anytime soon.
How long will it take to clean and seal my wood deck?
It depends on the size of your deck and how dirty it is. Generally, the cleaning process takes a few hours and it takes a few days to seal. If your deck is very dirty, you will first need to clean it with a deck cleaning product. Deck cleaners can be purchased at most home improvement stores. Once the deck is clean, you will need to apply a sealant. Sealing your deck is important because it protects the wood from weathering and discolouration caused by UV rays.
When can we use our newly sealed wood deck again?
It is typically recommended to wait at least 72 hours before using a newly sealed wood deck. However, depending on the weather conditions, it may be necessary to wait longer.
Should I paint or stain my deck?
There’s no easy answer to this question! The main thing you need to consider is the look you’re going for. If you want a natural look, then staining your deck is a good option. But if you want a more colorful or decorative look, then painting your deck might be a better choice.
Another thing to keep in mind is the climate where you live. If you live in a very hot or humid climate, then staining your deck might not be the best option, as it could lead to warping or buckling. Painting your deck might be a better choice in this case, as it will help protect it from the heat and humidity.
Finally, you’ll need to consider the type of wood your deck is made from. Some woods are better suited for staining, while others are better for painting. If you’re not sure which is best for your deck, then consult with a professional before making a decision.
